-
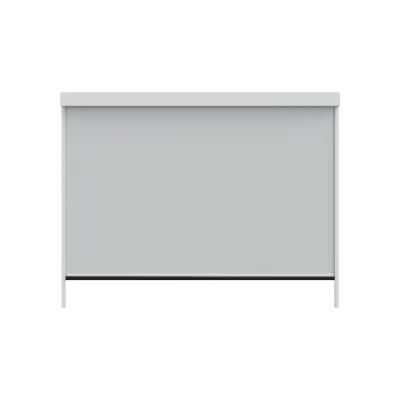
Solo 3 Indoor
-
Solo 3 Outdoor
-
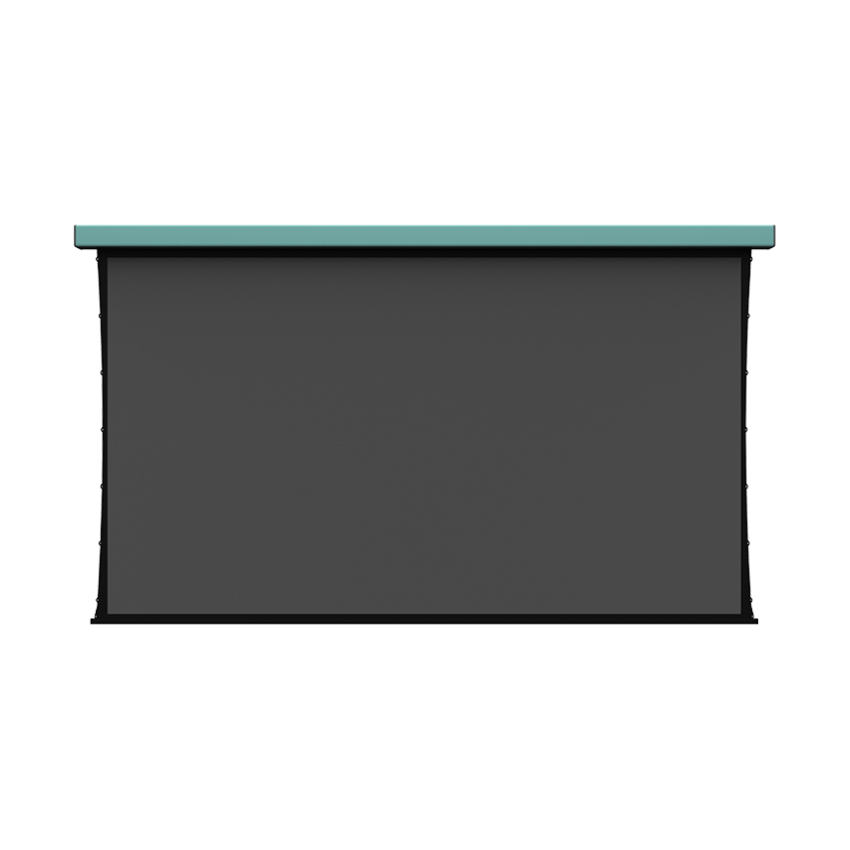
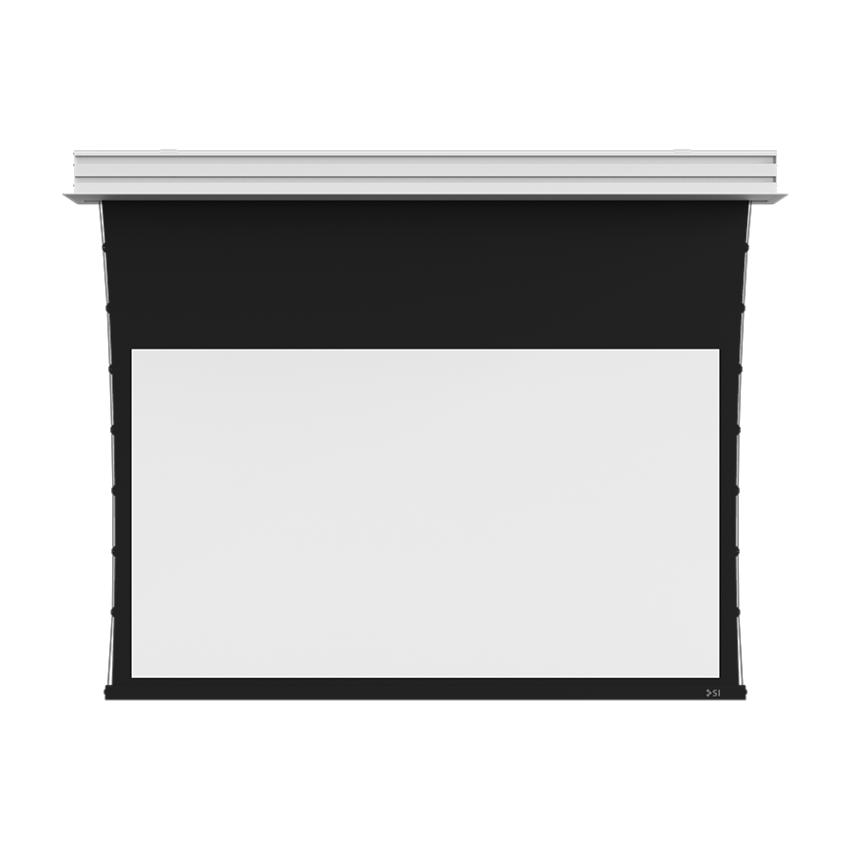
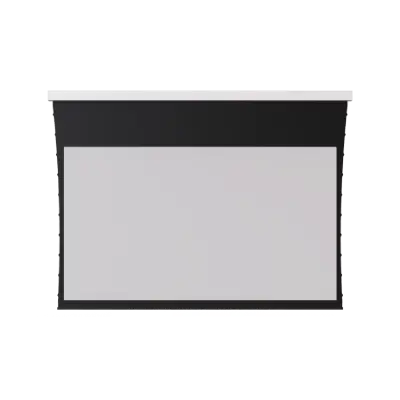
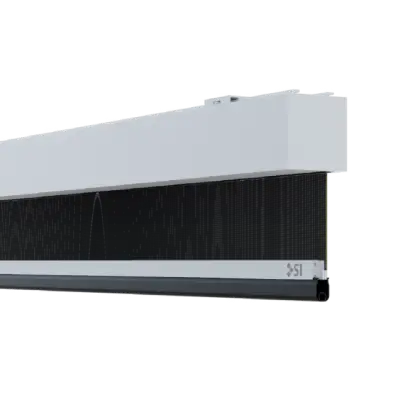
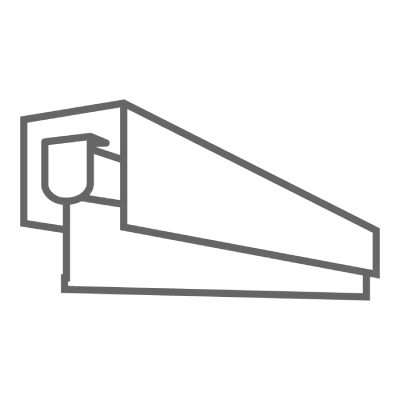
Short Throw Lift
-
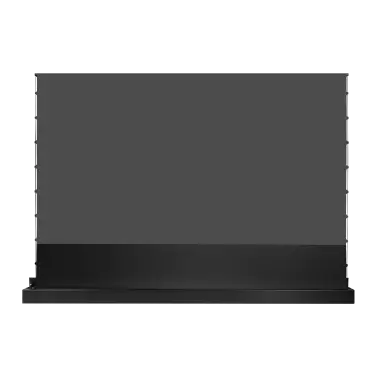
Zero-G®
-

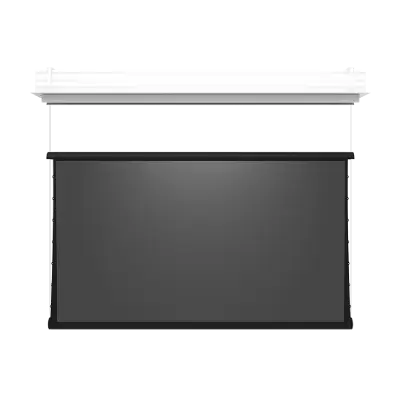
DT Dynamic 1
-

DT Dynamic 2S
-

DT Dynamic 2TB
-
DT Dynamic 4
-

Zero Edge®
-

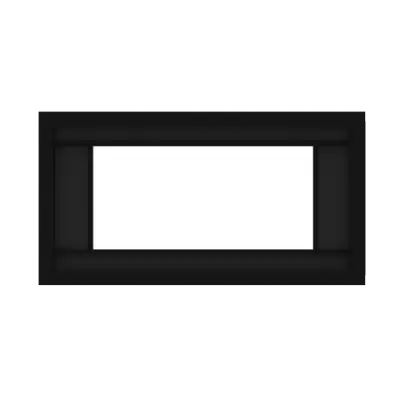
Fixed 2″
-

1 Fixed
-
Zen® 2
-

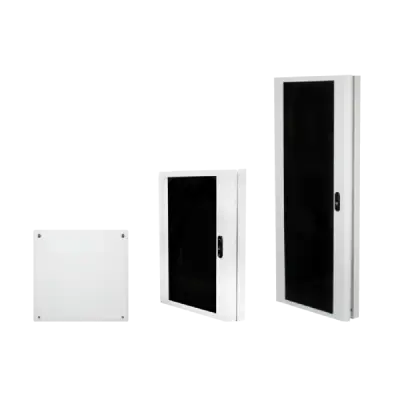
Nano® Box
-
Nano® Roll
-
Pocket
-
Revolve
-
SilenTrac
-
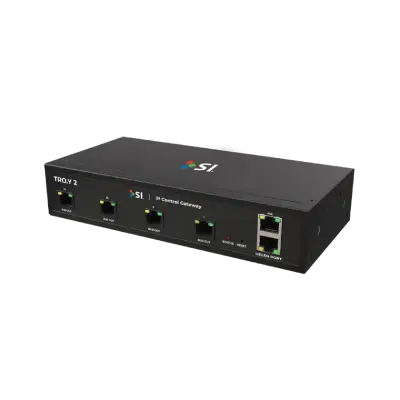
TRO.Y™
-

Helen
-
Pegasus
-
Bond Bridge Pro
-
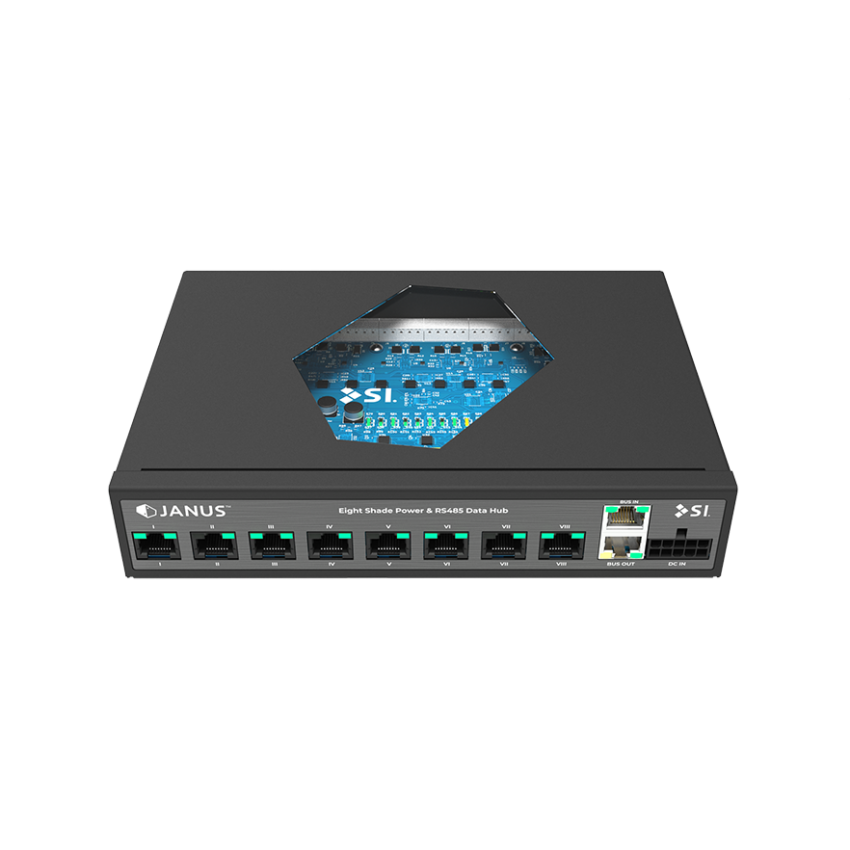
Janus®
-
Joule®
-
Suite XVI
-
KRATOS™
-
C4 Zigbee
-
TDMI
-
Moab
-
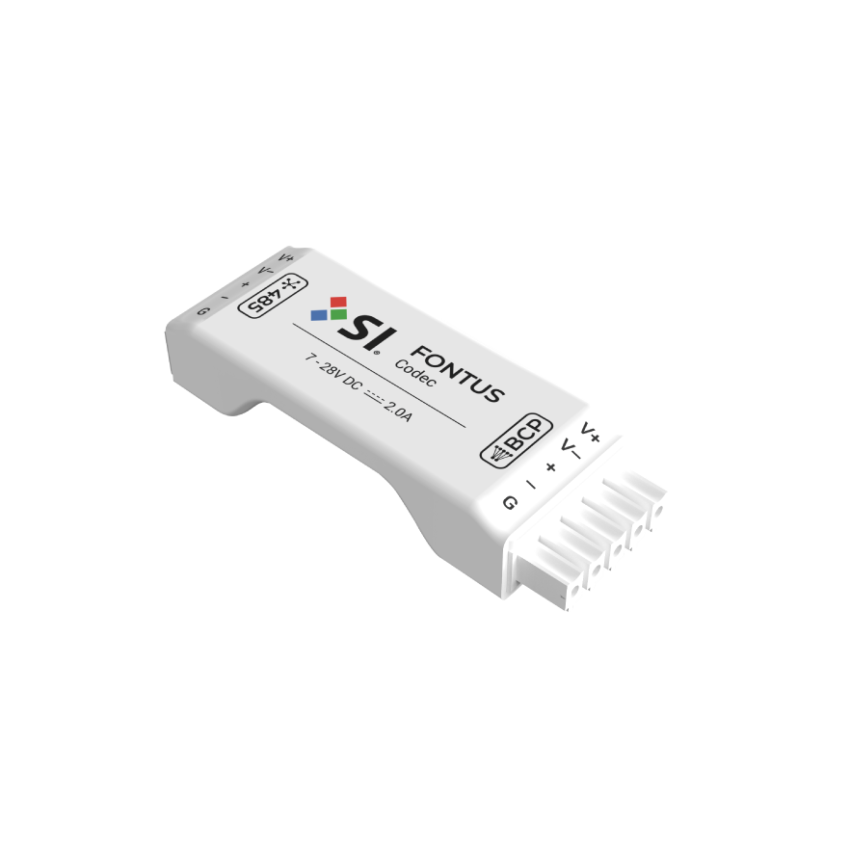
Fontus
-
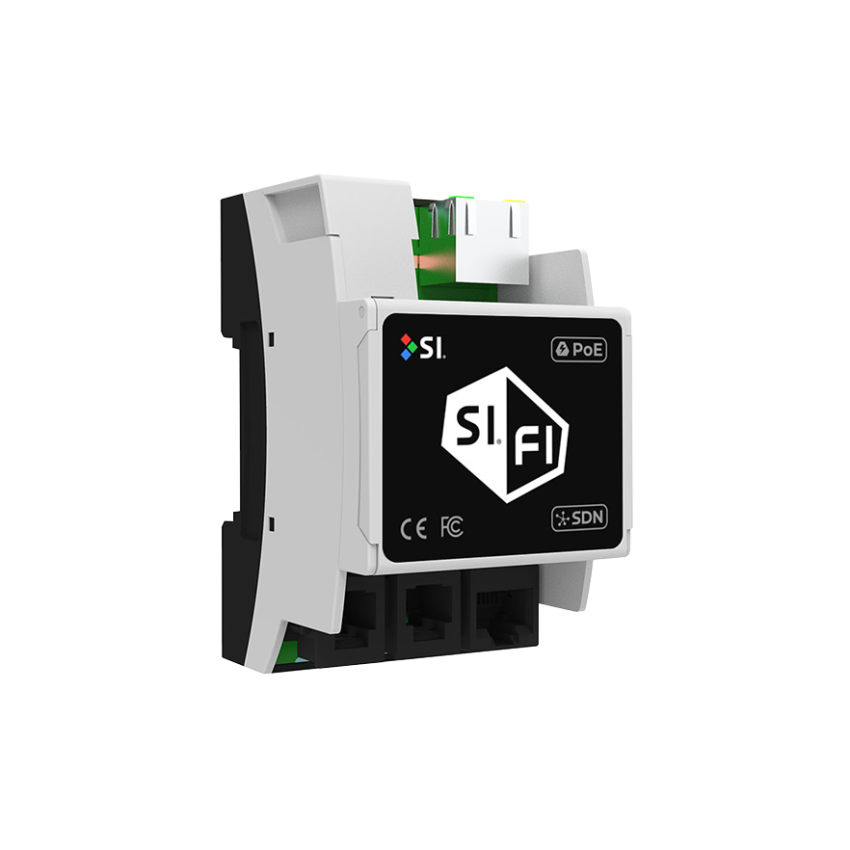
SI.FI
-
Connect
-
Sidekick
-
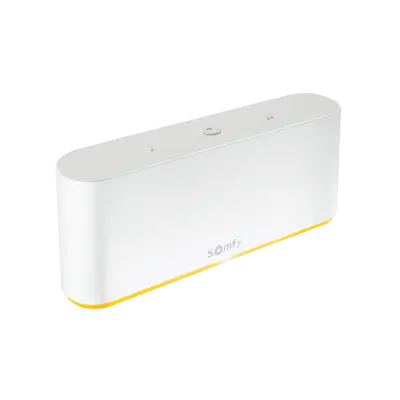
TaHoma Switch
-
Smart Light Switch
-
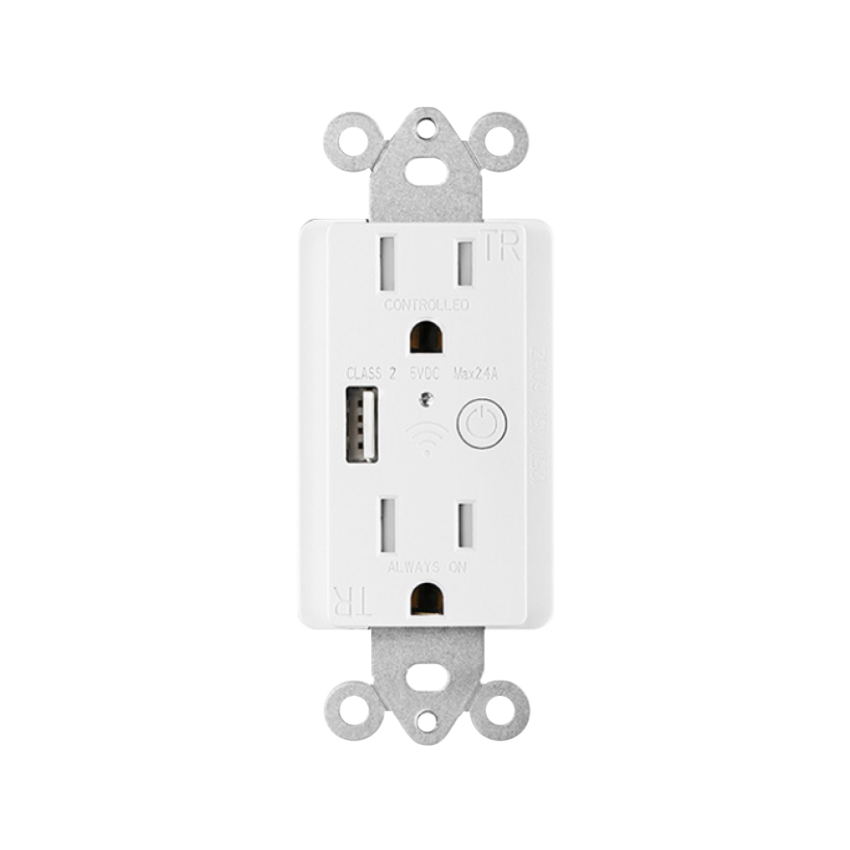
Smart Outlet
-
Smart Outdoor Plug
-
Smart Plug
-
RTS Repeater
-
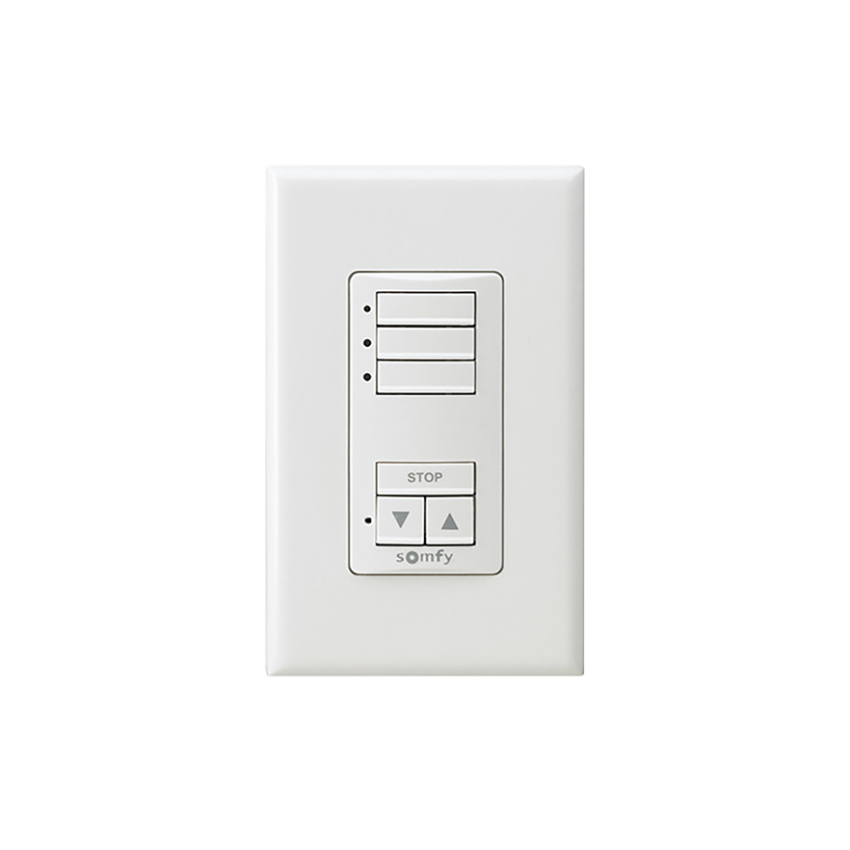
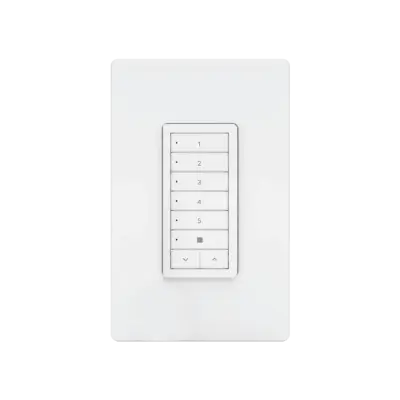
485 DecoFlex Digital Keypad 6/8-Button
-
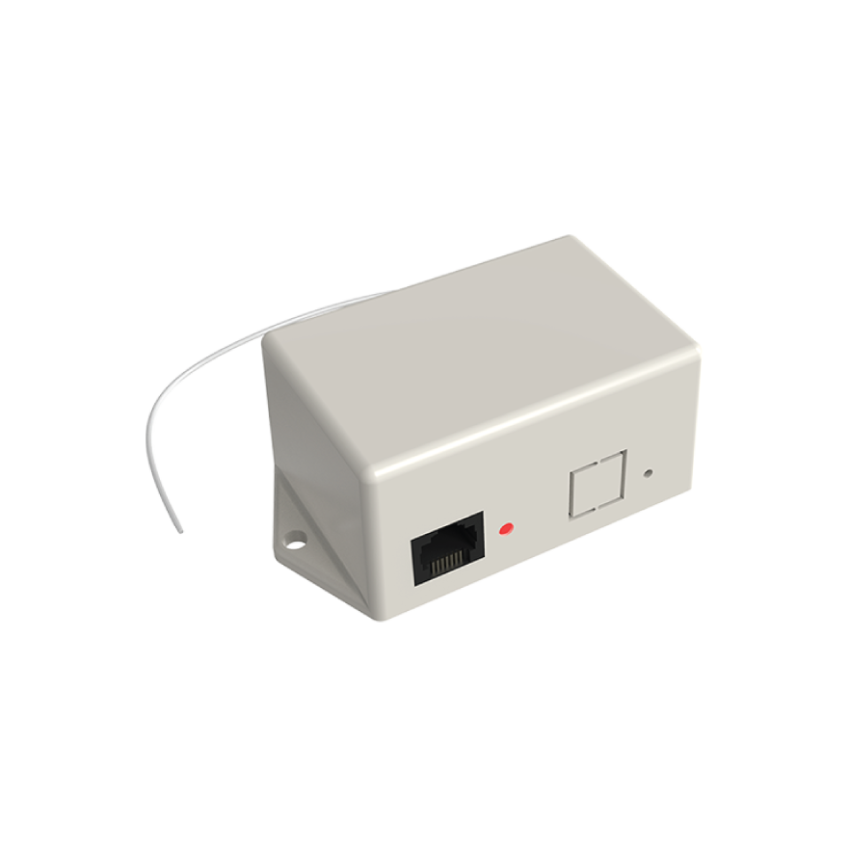
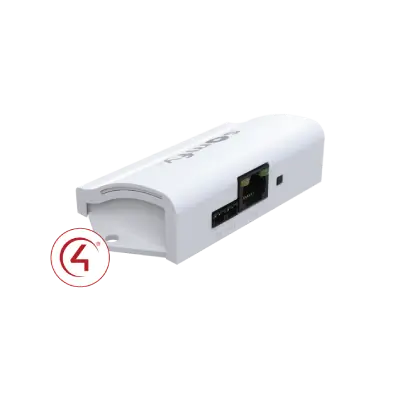
RTS Receiver for 485
-
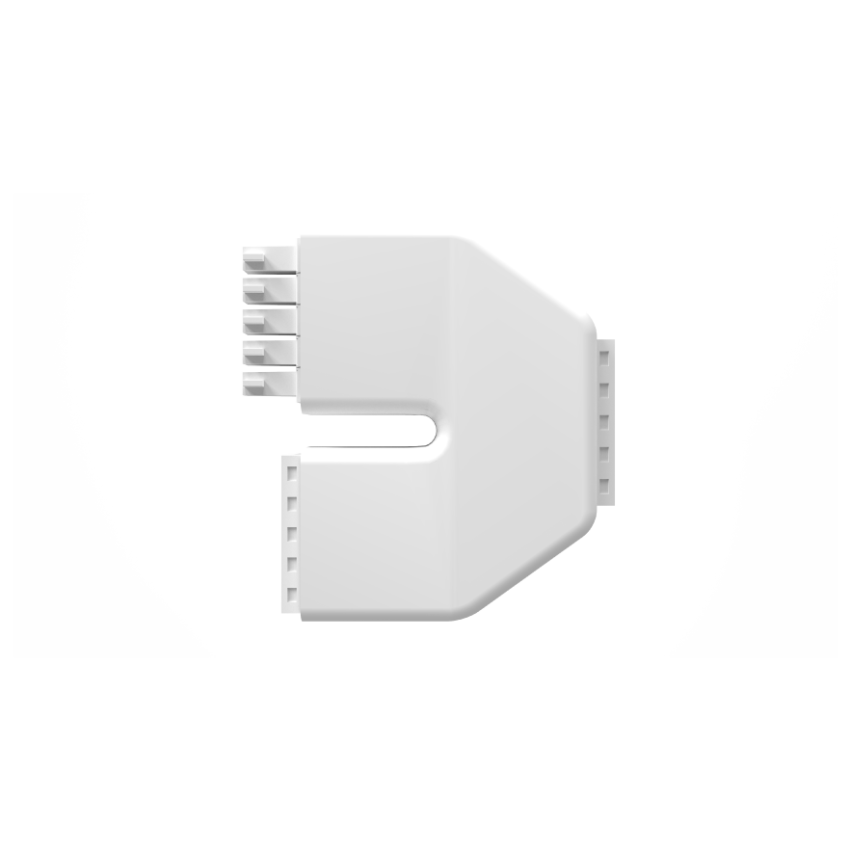
DUOCoup
-

Spike Kit
-
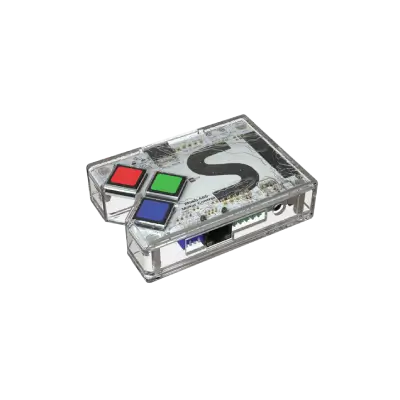
Data Hub
-
DecoFlex WireFree Table Top Accessory
-
DecoFlex WireFree 1 – 5 Ch
-
Smoove 1 & 4 RTS
-
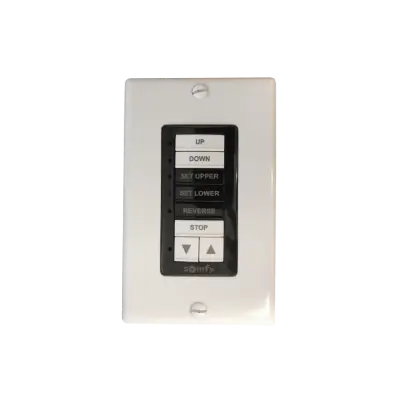
IR Backlight Remote
-
IR Backlight Kit
-
IP (Zigbee) Backlight Kit
-
Situo RTS Remote – 1 & 5 Ch
-
Ysia Zigbee Remote – 1 & 5 Ch
-
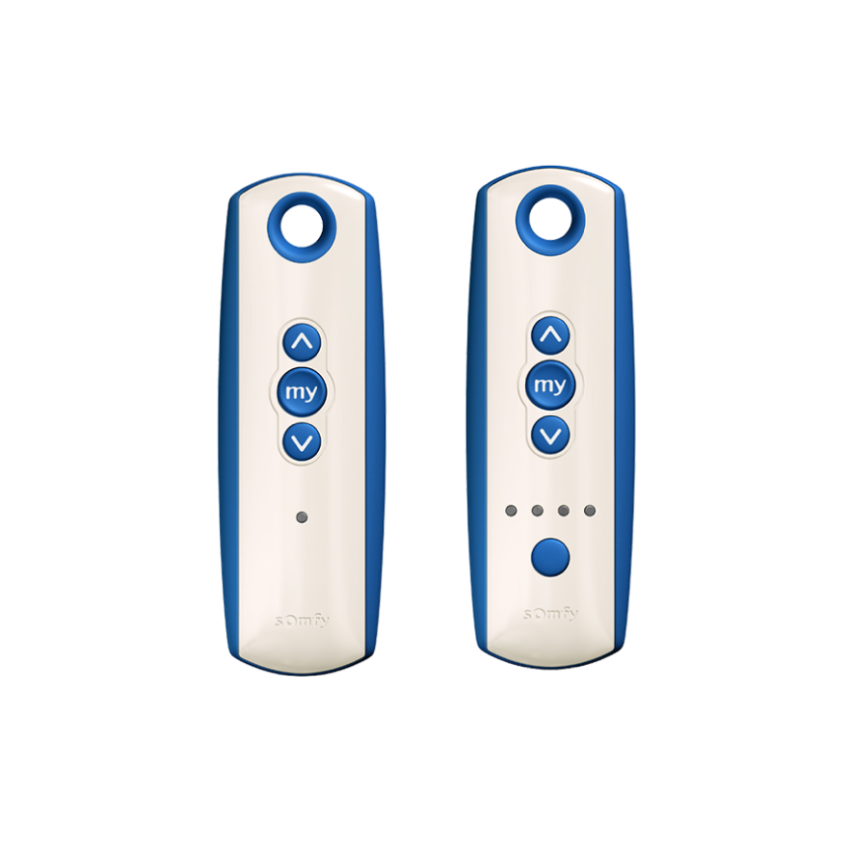
Telis 1 & 5 RTS Patio Remote
-
SI IR Remote
-
DecoSET
-
JOPPLIN
-
Nano® Box Brackets
-
Zen® 2 Brackets
-
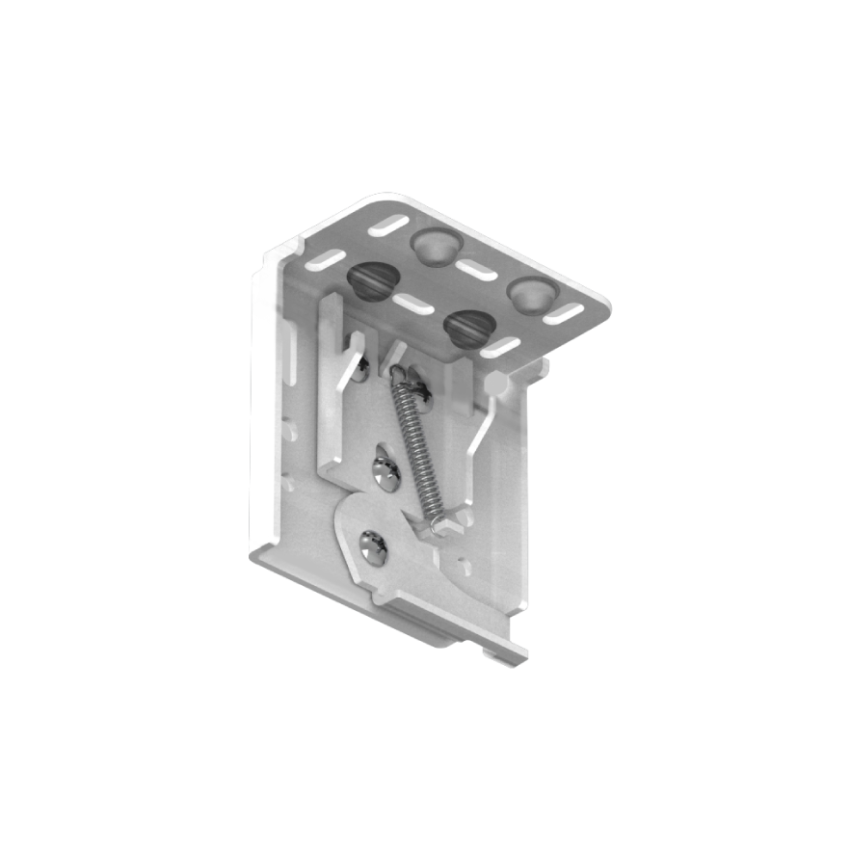
Solo 3 Indoor Brackets
-
Solo 3 Indoor Flown Kit
-
Fixed Screen Brackets
-
Zen® 2 Pre-Construction Channels
-
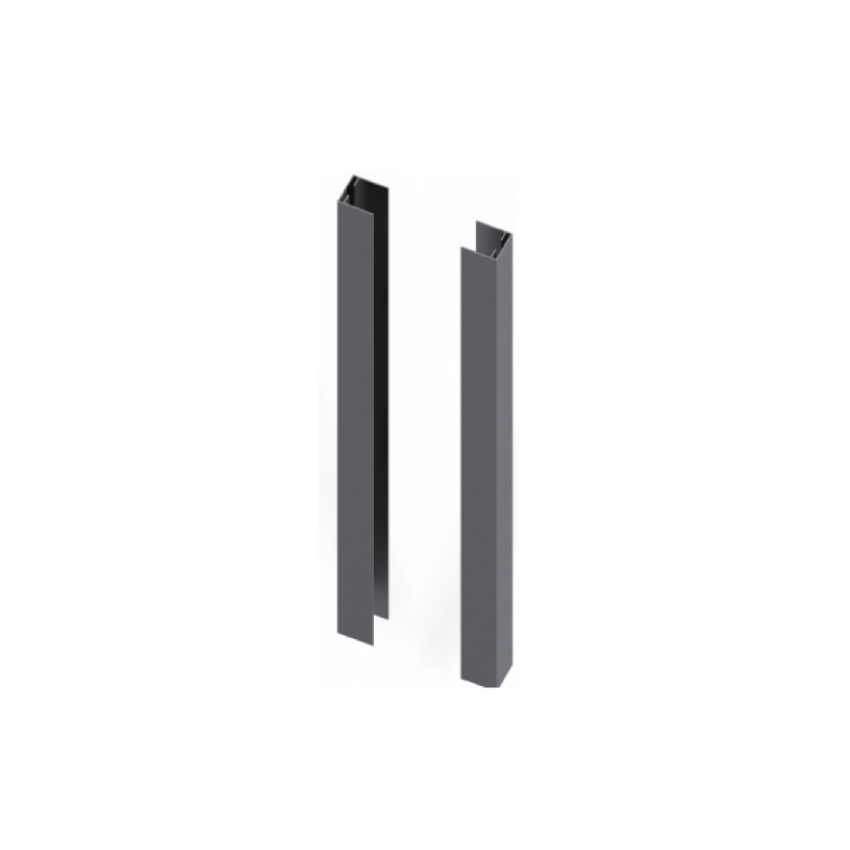
Side and Sill Channels
-
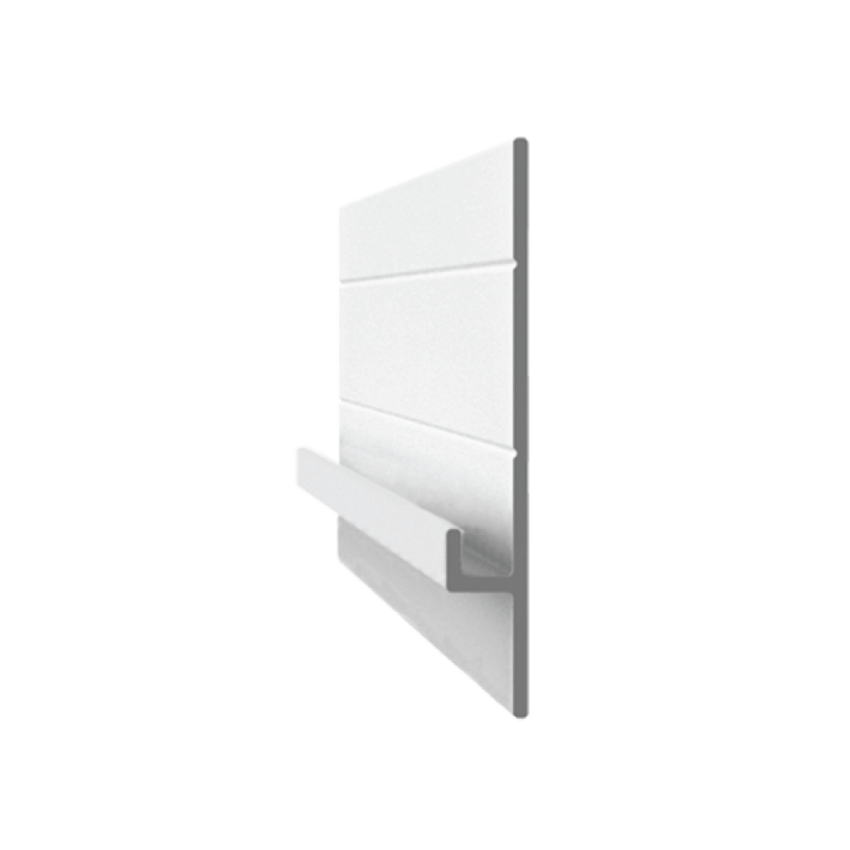
Hanger & Closure
-
Manual Shade Hook
-
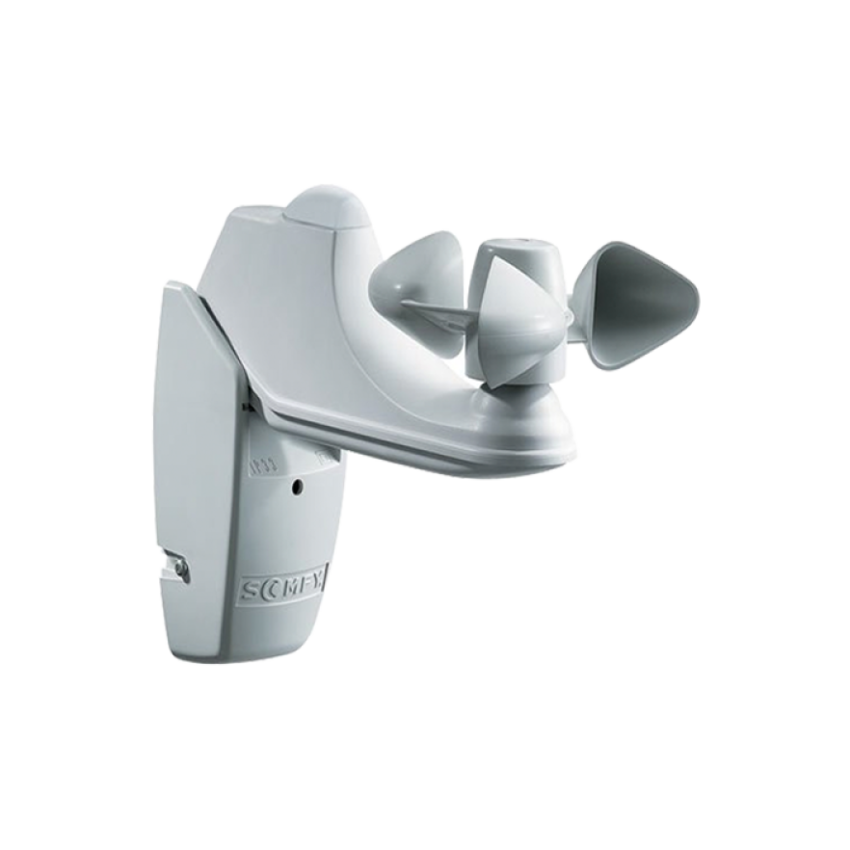
Eolis RTS Wind Sensor
-
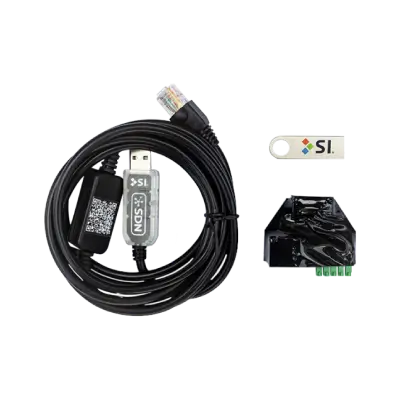
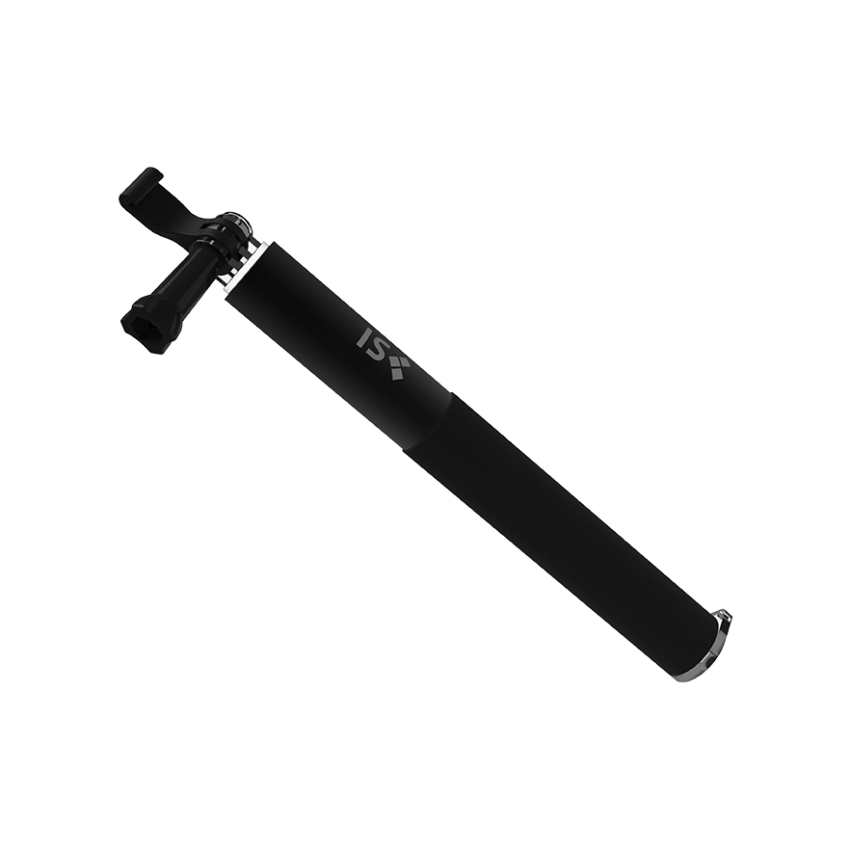
USB Programming Kit
-
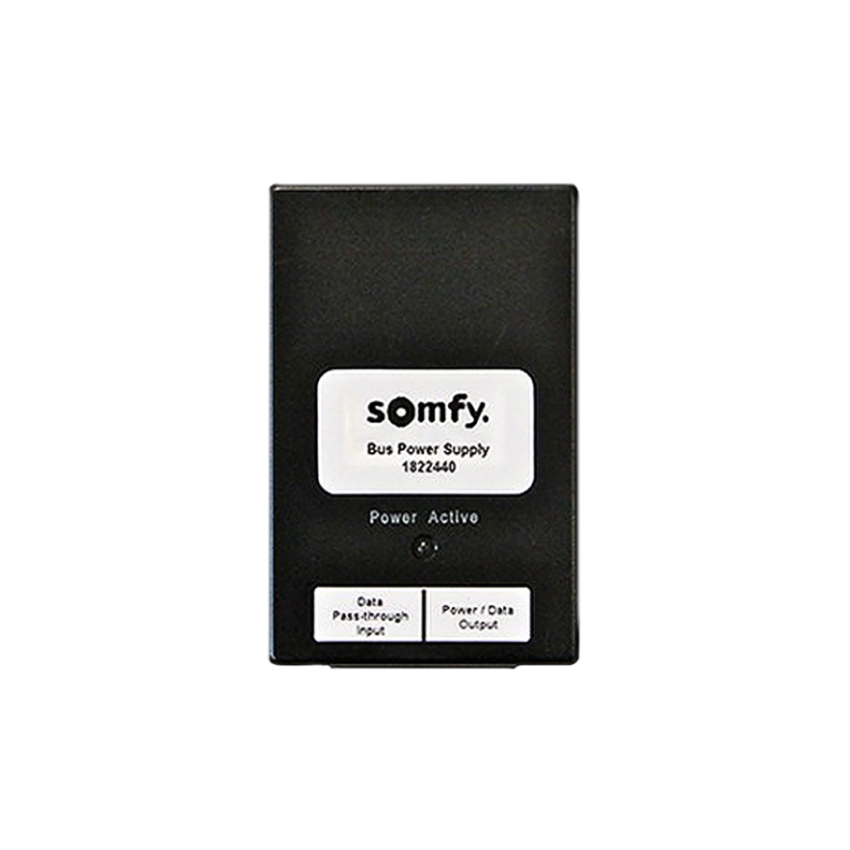
Bus Power Supply
-

Low Voltage Power Supply
-

Black Diamond®
-

CarbonBlack® Hybrid Pro
-

Maestro 2
-

Slate®
-

Slate® AT
-

Short Throw
-

Black Diamond Film
-

FlexGlass®
-

360
-

Pure
-
Pure AT
-

Maestro Outdoor
-

Solar
-

Gamma
-
Solo Pro 2
-
Solo 2
-
Solo Pro
-
Solo
-
5 Motorized
-
3 Motorized
-
Zero Edge® Pro
-
Zero Edge® (legacy)
-
1 Motorized
-
7 Fixed
-

5 Fixed
-

3 Fixed
-
Tiles
-
Transformer®
-

Unity
-
Unity AT
-
Zen Box
-
Zen Roll